Getting Started with Bridge
- Welcome!
- Getting Started: The Quick Version
- What's in the Box
- Visit the Forums
- How to Use Bridge
- Attaching Structure Sensor to Bridge
- Charging your Structure Sensor
- Inserting/Removing iPhone to Bridge
- Connecting your iPhone to Bridge
- Connecting 3-DoF Controller
- Health and Safety Warnings
- Calibrating Bridge
- Using Bridge for the First Time
- Download the BRIDGET App
- Choosing the Right Environment
- Scanning your Environment
- Creating Apps with Bridge Engine
Welcome!

We hope you enjoy your new Bridge headset! You’re now on the cutting edge of mobile mixed reality. Let’s get you started.
Getting Started: The Quick Version
Before getting started with Bridge, you will need to attach your Structure Sensor (boxed separately). Read the Quick Start Guide in the Bridge package for assembly details. Then, calibrate your Structure Sensor and Bridge by downloading the Calibrator app. Finally, connect your Bridge Controller and you're ready to experience mobile mixed reality!
What's in the Box
When you receive your Bridge headset, the following items will arrive in two separate boxes.
Bridge Package
- Bridge Headset
- 120º Wide Vision Lens (already attached to Bridge headset)
- Bridge Controller (3-DoF)
- AAA Batteries (2x)
- Bridge Lightning Cable
- Alternate Face Pad
- Alternate Lens Spacers
- Lens Cleaning Cloth
- Bridge Headset Quick Start Guide
- Bridge Controller Quick Start Guide
Structure Sensor Package
- Structure Sensor
- Lightning Cable
- AC Power Adapter
- Screwdriver
- M1.6 Screws (8x)
- Structure Sensor User Manual
For International Orders
- Outlet Converter (where required)
Visit the Forums
Now that you're unboxed, why not visit the official Structure Sensor & Structure SDK Forums? The forums are a great resource for showing off your latest project, finding community-based solutions, and getting the latest info on Bridge Engine releases.
How to Use Bridge

Attaching Structure Sensor to Bridge
Attaching your Structure Sensor to your Bridge is simple. Here's how it's done.
First, remove the protective plastic wrap from the Structure Sensor. Using the screwdrivers and screws included in the Structure Sensor package, attach the Structure Sensor to the aluminum frame at the top of the Bridge headset.
Make sure that the data and power ports on the Structure Sensor are facing the latch side of your Bridge headset. The latch is on the right side of the Bridge when worn.
Charging your Structure Sensor
To preserve the battery life of your iPhone, Structure Sensor has its own internal battery. Charging your Structure Sensor's battery is simple: Connect the supplied Power Adapter to the barrel jack (the round port on the side of Structure Sensor), and then plug the other end into a wall outlet (if you are outside of the US or Canada, you will need to use an appropriate adapter). An LED indicator on the Structure Sensor's glass face will pulse when your Structure Sensor's battery is charging. As soon as your battery is completely charged, the LED indicator will stop pulsing and instead will remain solidly lit until you disconnect the Power Adapter.
Structure Sensor can operate for up to 4 hours of continuous usage with a single charge.
Inserting/Removing iPhone from Bridge

Bridge is designed to allow your iPhone to easily snap into place.
First, open the front enclosure by gently pulling forward on the latch side (the right side of Bridge when worn).
If your iPhone is in a case, please remove it from the case before trying to insert it into Bridge.
Next, orient your iPhone so that the top of the iPhone faces to the left, and the bottom of the iPhone faces to the right.
Using this orientation, install the iPhone into the three hooks at the bottom of the enclosure first. Next, push the top of the iPhone inward until it snaps in fully.
Before releasing iPhone from Bridge, ensure that the Lightning cable is unplugged from your iPhone.
Next, press on the back of your iPhone through the enclosure to release it. Make sure to have your other hand on your iPhone to catch it as it releases.
Connecting your iPhone to Bridge
Make sure to use the black Lightning cable when connecting your iPhone to your Bridge (it can be found under your getting started manual in the Bridge box).
First, insert the flat connector into the rectangular port on the side of Bridge. Make sure that the gold pins on the connector are facing forward before inserting it.
Next, connect the Lightning cable to your iPhone. There is a port to allow for this in the side of the iPhone enclosure.
Connecting 3-DoF Controller
Make sure to use the black Lightning cable when connecting your iPhone to Connecting your controller is nearly automatic! Just turn it on using the home button (it's the one with the circle) and launch any Bridge app. Your controller will automatically connect.
Health and Safety Warnings
Full health and safety warnings can be found here.
Calibrating Bridge

Your Structure Sensor and Bridge need to be calibrated before first use to ensure the best possible performance. You only need to calibrate once for every iOS device you use with Bridge.
To calibrate, download the Calibrator app from the app store to your iPhone. Not sure how to calibrate? There's a Structure Sensor Calibrator Tutorial video for you.
Your Bridge uses the 120º Wide Vision Lens to enhance performance. To calibrate with the Wide Vision Lens, you'll use a checkerboard target. You can either use it on the screen of your computer, or print it out. The checkerboard target can be found here.
Before calibrating, ensure that the Wide Vision Lens is firmly inserted into Bridge. Turn it clockwise until it can no longer be turned.
Open up the Calibrator app, and select "Calibration with Wide Vision Lens". You'll be taken through a series of steps, starting with using the checkerboard target. The final step of Calibrator requires that you point your Bridge and Structure Sensor towards a brightly lit and visually complex scene.
Using Bridge for the First Time
Download the BRIDGET App
The BRIDGET app is an introduction to the powerful capabilities of mobile mixed reality. Within BRIDGET, you’ll get to experience virtual elements that integrate precisely with your real world environment for lifelike occlusion, physics and interaction.
You can download BRIDGET to your iPhone now from the App Store.
Before you first start BRIDGET, make sure that you have calibrated your Bridge and Structure Sensor.
The Bridge developer community is developing new apps, so check the Bridge software page regularly for updates on new apps to experience.
Choosing the Right Environment
To get the most out of your Bridge, please choose an environment with these characteristics:
Scanning your Environment
Before you can experience mixed reality, you’ll need to capture a 3D map of your environment. We’ll use the BRIDGET app for the following example.
- Choose a suitable environment (see ”Choosing the Right Environment” on how to choose a good scene to use Bridge).
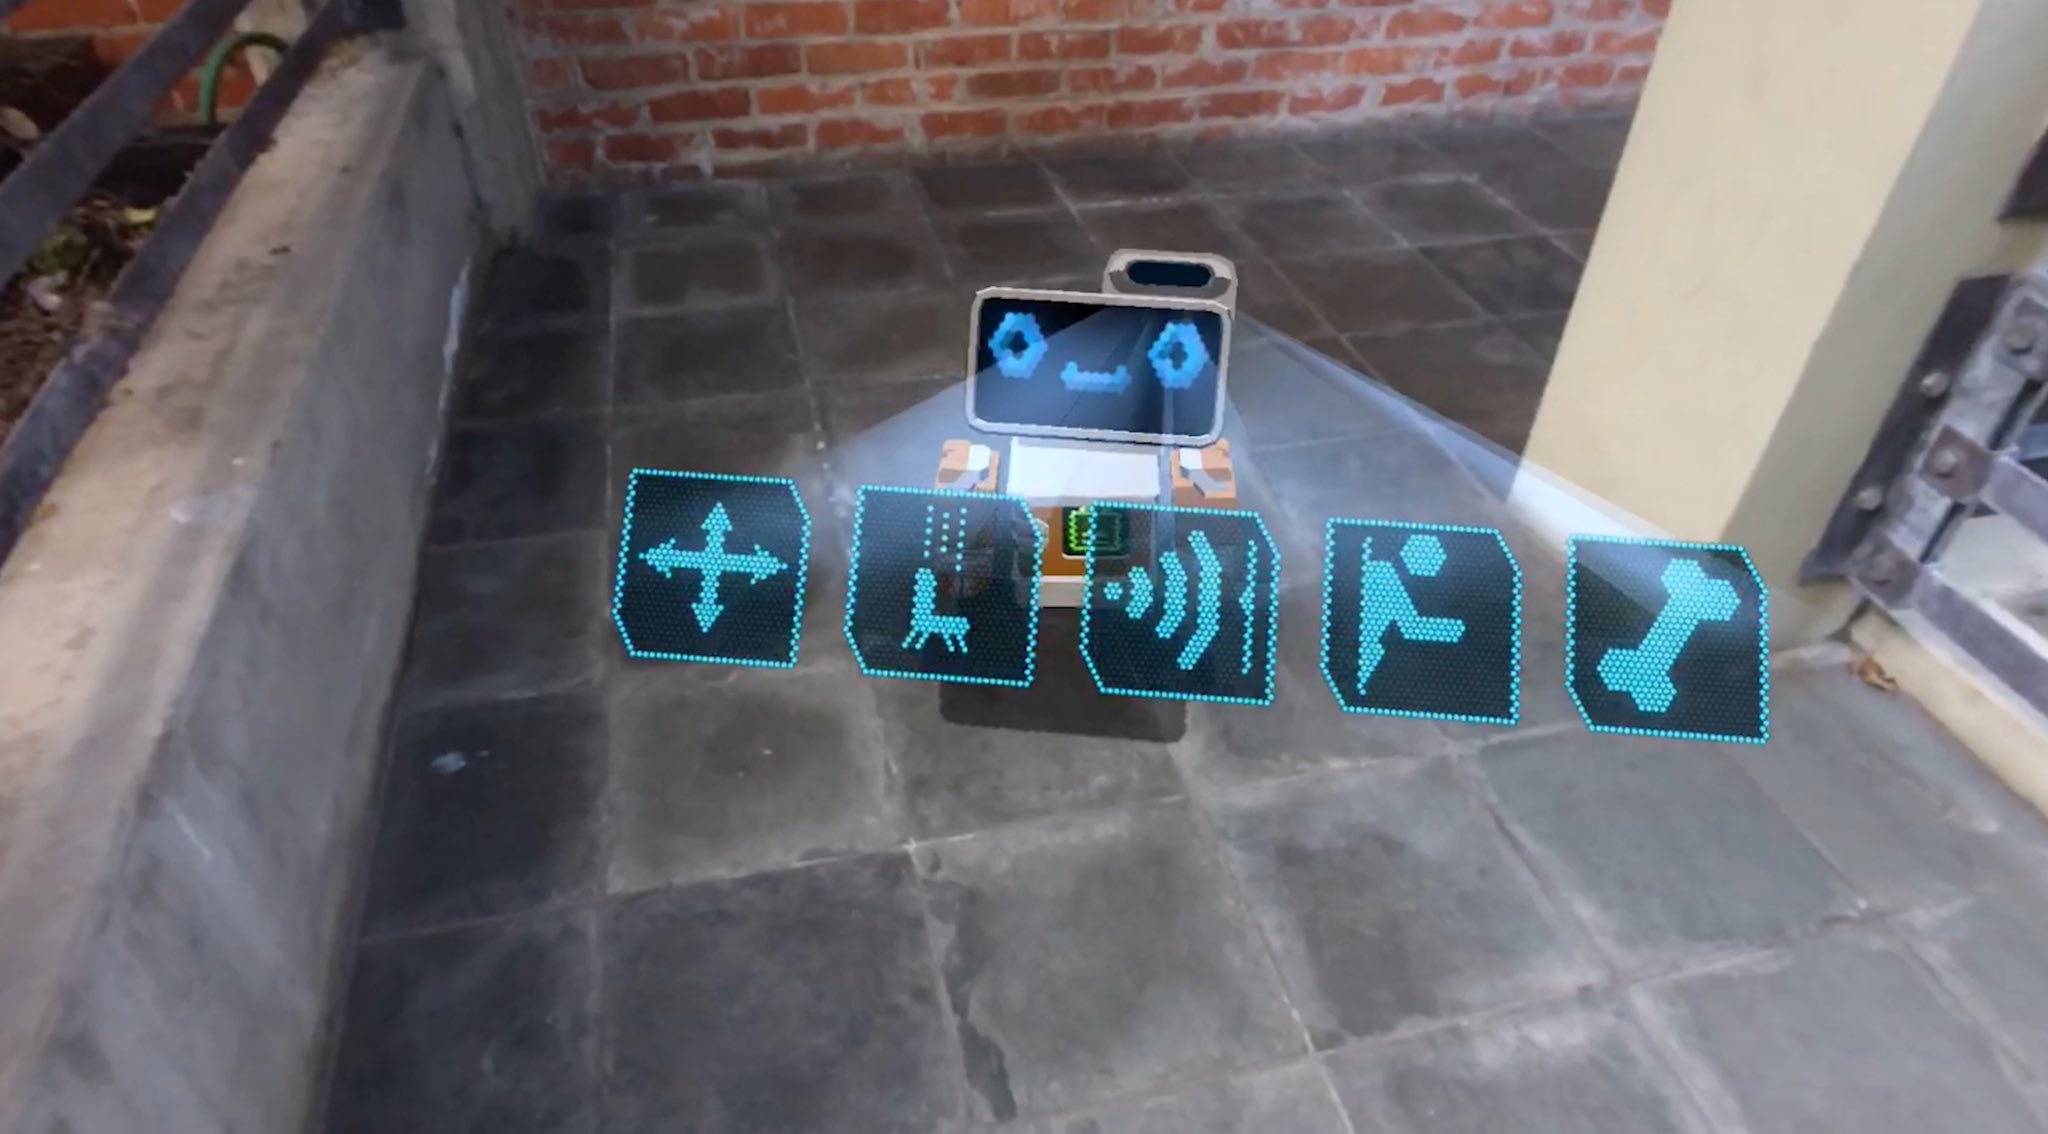
- Open the BRIDGET app and ensure that your controller is connected. The first screen that appears will give you the choice to “Scan” or “Load.” Choose “Scan.”
- On the next screen, tap the “Scan” button. You’ll see a green grid texture start to cover the parts of your environment that are within your Bridge and Structure Sensor’s field of view and range.
- Move around slowly to start capturing more of your environment, taking care to thoroughly scan objects like chairs and tables to enable lifelike occlusion and physics, as well as capturing the ground in the area you’ll be using.
- When you’re finished scanning your environment, tap “Done.” You’ll now be able to use this environment for your mixed reality experience.
If you exit the app, you can relocalize in the same space any time in the future by clicking “Load” instead of “Scan” when you begin. This will let you skip the scanning process by bringing up the last saved 3D map of your environment. Note that if objects have moved since your last scan, the 3D map will not be updated. You may choose to rescan the environment to perfectly match the 3D map to the current real world state.
Creating Apps with Bridge Engine
You can build apps for your Bridge headset Bridge Engine, our groundbreaking mixed reality engine, which includes our Unity plugin. To access Bridge Engine log in to our Developer Portal, or sign up for a (free) account there, then click the "Access Bridge Engine" module.